How to Bleed the ACD/AYC System Without MUT-III
By ACD/AYC PUMPS · UPDATED SEP 24, 2026
My lift method for bleeding the ACD/AYC system without MUT-III: preparation, the ACD stage, both AYC circuits, and when bleeding won't help.

Hello everyone. Today I want to talk about bleeding the ACD/AYC system.
People often write to me asking for a manual on how to bleed the system without special equipment. The official route is Mitsubishi's MUT-III scan tool, but not everyone has one. So here is the method I use myself: with the car up on a lift, using nothing more than the engine, the gearbox and the steering wheel.
If the ACD/AYC warning (the 4WD error) lights up as soon as you switch the ignition on, bleeding will not help you. Don't waste your time — go straight to reading the fault codes. Bleeding only removes air from the hydraulics; it cannot fix a pump that isn't building pressure, a failed sensor or a solenoid fault.
When do you need to bleed the ACD/AYC system?
Bleeding is needed when air has got into the hydraulic circuit. In practice that means after you have removed or replaced the pump, disconnected any of the lines, or replaced a differential. If none of that has been touched, the circuit normally doesn't need bleeding at all.
The most common case I see is fitting a new or restored pump. If you are installing one of our restored ACD pumps or AYC pumps, this is the procedure to do once everything is connected.
Which stages does your car need?
The procedure has two stages: Stage 1 bleeds the ACD in the transfer case, Stage 2 bleeds the two AYC circuits in the rear differential. Which ones you do depends on the pump your car has:
- Combined ACD/AYC pump (Evo VII–IX GSR/MR, Evo X GSR/MR) — both stages.
- ACD-only pump (Evo VII–IX GT/RS, Evo X RS, Lancer Ralliart) — Stage 1 only.
- AYC-only pump (Evo IV–VI) — these cars have no ACD, so go straight to Stage 2.
One thing to watch if your car is a US-market Evo VIII or IX: those cars were sold with ACD but without AYC, so there is nothing to bleed at the rear. I've put the full breakdown by generation in What is the ACD system and how does it work.
What you'll need
- A lift that raises the car with all four wheels off the ground.
- Fluid for the ACD/AYC pump circuit — ATF to SP III specification. This is separate from the gear oil in the differentials.
- A spanner for the bleed nipples and a container to catch the fluid.
- Rags — fluid will spurt out at first.
- A helper. One person drives the procedure from the seat, the other watches the reservoir and the nipple. Doing both alone is hard.
Safety before you start
- The Evo is all-wheel drive. Every wheel must hang free — a wheel touching the floor will try to drive the car off the lift.
- Make sure the car is secured on the lift at the correct lifting points.
- In second gear at 2,000–5,000 rpm the wheels spin fast. Keep people, tools and anything loose well away from all four wheels.
Step-by-step: bleeding the ACD/AYC system
Preparation
- Install the pump and connect all the pipes and hoses.
- Fill the reservoir with hydraulic fluid.
- Important: do not close the reservoir cap — leave it open.
- Wait 15 minutes.
Stage 1: bleeding the ACD (transfer case)
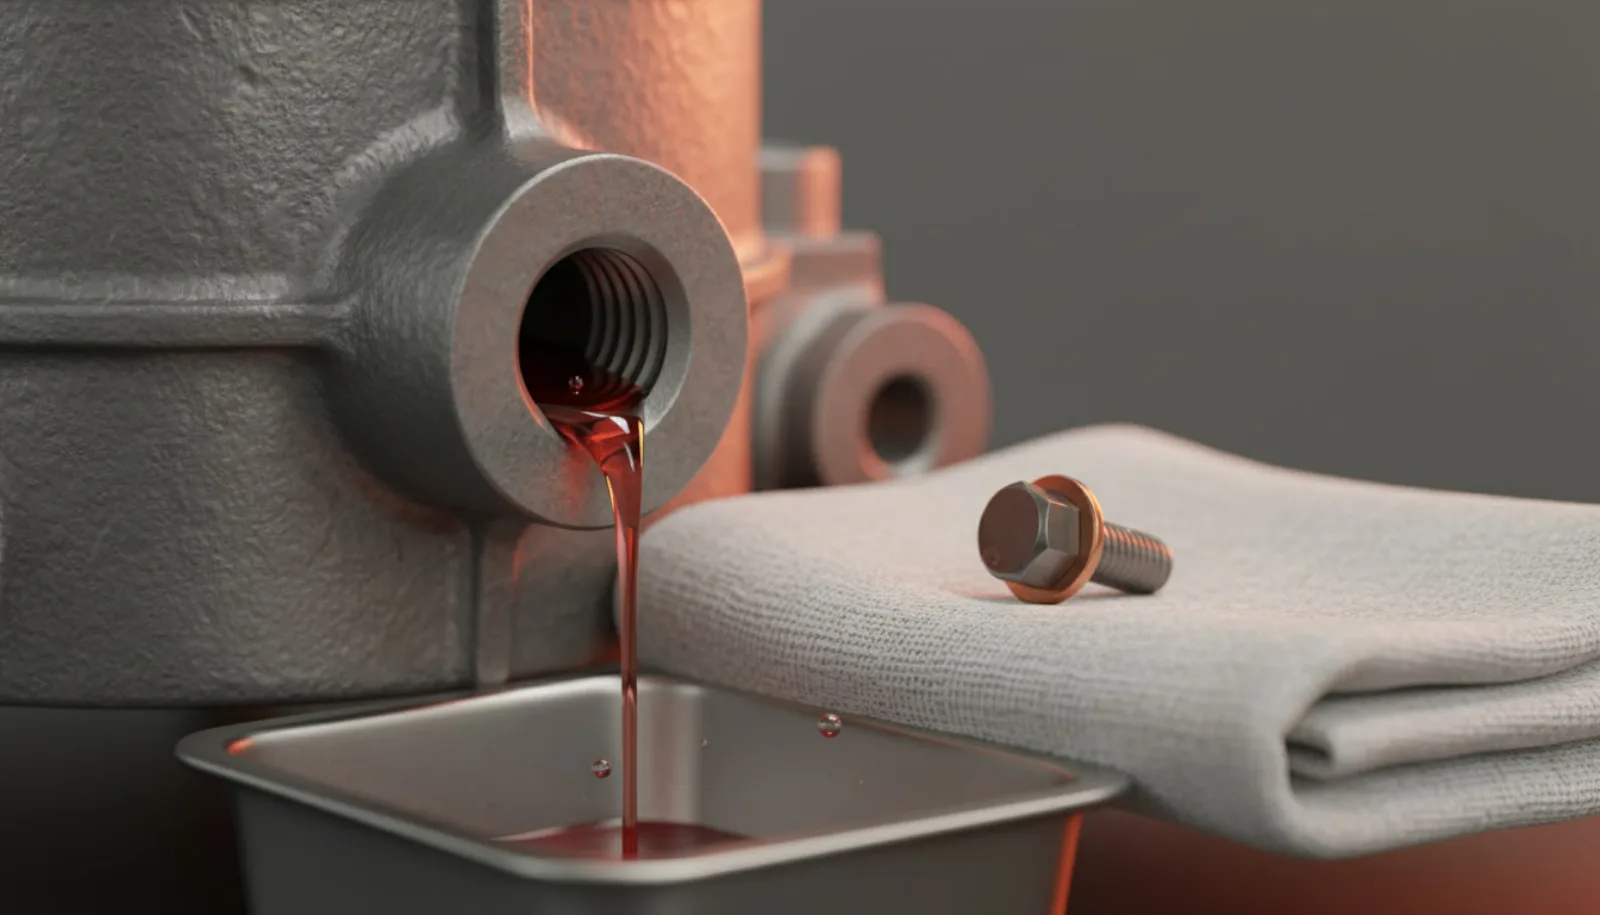
- Unscrew the bleed nipple completely and take it out. Keep it on a clean rag, with a container under the port.
- Put the car in second gear.
- Start the engine.
- Start raising the engine speed from 2,000 to 5,000 rpm, while turning the steering wheel from full left lock to full right lock and back.
- Watch the fluid level in the reservoir — don't let it run dry, top it up in time.
- Keep going until a steady stream of fluid with no air bubbles comes out of the nipple. At first it may spurt out in bursts — that's normal.
- As soon as you get a steady stream, screw the nipple back in.
Stage 2: bleeding the AYC (two circuits)
The procedure is the same, but the AYC has two circuits — with a left and a right bleed nipple — and the steering position matters:
In each position: second gear, raise the revs, watch the reservoir, and screw the nipple back in once all the air is out.
- Turn the steering wheel to the left and unscrew the right bleed nipple completely.
- Rev the engine in second gear, keep the reservoir topped up and wait until all the air is expelled. Then screw the nipple back in.
- Turn the steering wheel to the right and unscrew the left bleed nipple completely.
- Repeat the same: second gear, revs, watch the level, wait until all the air is out, screw the nipple back in.
After bleeding
- Top the reservoir up to the correct level and close the cap.
- Switch off, then switch the ignition back on and check that no ACD/AYC warning comes on.
- You can also run the quick pump self-test I describe in Signs of AYC pump failure to confirm the pump charges and shuts off normally.
Still getting the ACD/AYC warning?
If the warning comes back after a proper bleed, air was not the problem. The usual causes are a pump that can no longer build pressure, a faulty pressure sensor, a solenoid fault or a worn-out motor. Read the fault codes first — then you know which part to look at.
The pump itself can almost always be saved: we restore ACD/AYC pumps on the bench and load-test them before they ship, and a failed core can go towards a restored unit through our trade-in programme. What a rebuild involves is covered in ACD pump restoration process.
Parts for this job
Pick your car — each link goes straight to the part:
If something in the procedure isn't clear, message me — I'm happy to help you get the system working.

