MUT-III and the ACD/AYC System: What You Can Do Without It
By STANISLAV, FOUNDER, ACD/AYC PUMPS · UPDATED NOV 18, 2026
What the dealer scan tool does on the ACD/AYC system, and how far you can get with a jumper wire and a multimeter.
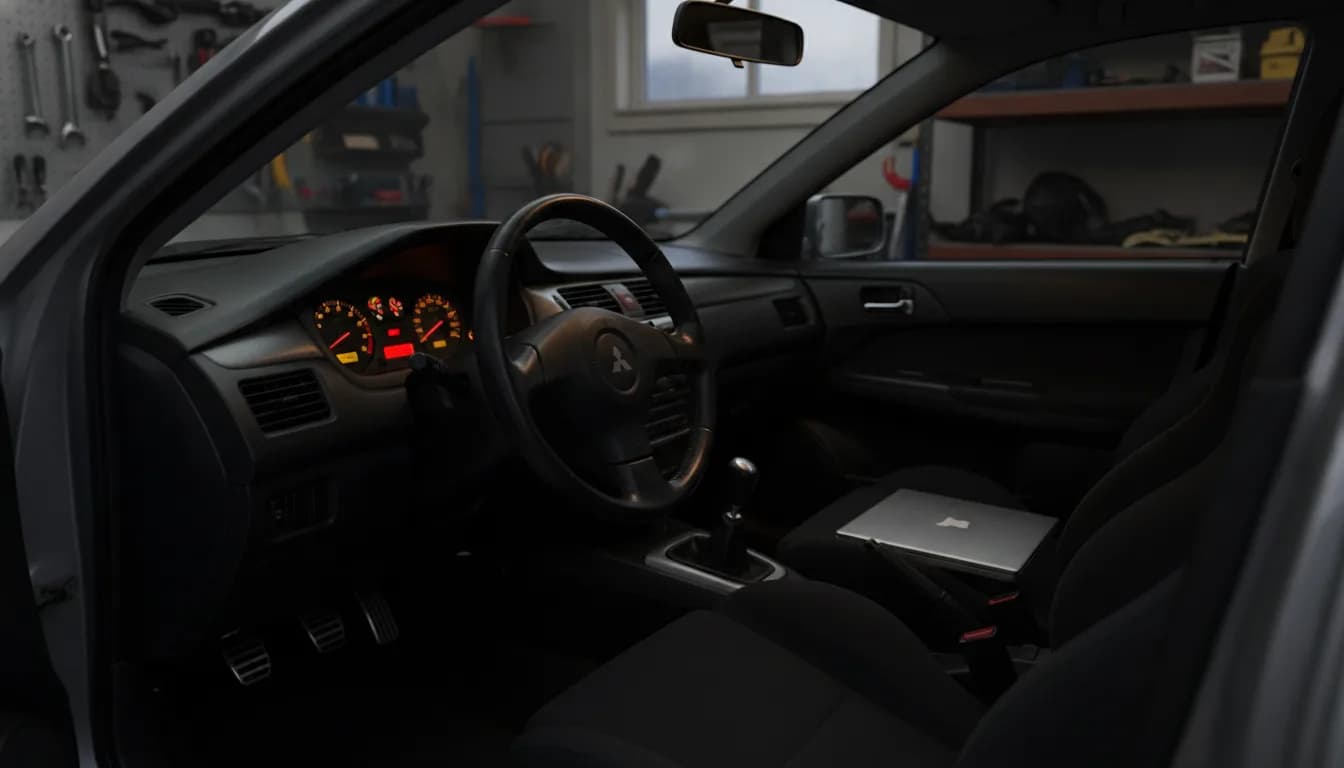
Open any Mitsubishi workshop manual for an Evo and almost every ACD or AYC job starts the same way: “connect the scan tool”. On the Evo VI and VII that tool is the MUT-II, on the Evo IX and X it’s the MUT-III. Most owners don’t have either. Here’s what the tool actually does on the ACD/AYC system, and how much of it you can do without one.
MUT-III is Mitsubishi’s dealer scan tool. On the ACD/AYC system it reads and clears fault codes, shows live data such as pump pressure, and runs actuator tests, including the air-bleeding routine. Without it you can still read and clear codes on the Evo VI–IX, check the fluid level and test the valves and sensors with a multimeter. On the Evo X, reading codes needs a scan tool.
What is MUT-III?
MUT stands for Multi Use Tester. The MUT-II was a handheld unit used on the Evo VI and VII. The MUT-III that replaced it, used in the Evo IX and X manuals, is a set: an interface box Mitsubishi calls the V.C.I., a USB cable and a harness, run from a computer.
One detail from the manuals worth knowing if you buy or borrow one: the Evo IX and the Evo X use different harnesses. The Evo X talks over CAN and the Evo IX doesn’t, and the manual warns not to swap them.
What does it do on the ACD/AYC system?
- Reads and clears fault codes. On the Evo X it also stores freeze-frame data: what the car was doing when the code was set.
- Shows live data. Pump pressure, whether the pump motor is running, valve currents, sensor voltages, the selected mode.
- Runs actuator tests. It can drive each part on command. The list is nearly the same from the Evo VII to the Evo X:
| TEST | WHAT IT DOES |
|---|---|
| Air bleeding, ACD / AYC | Drives the valves for 5 minutes while you open the bleeders |
| Oil level check | Works the direction valve to release accumulator pressure, so the reservoir level can be read |
| Electric pump drive | Runs the pump for a few seconds so you can hear it |
| ACD operation check | Applies full pressure to the centre clutch |
| AYC clutch check, left / right | Applies pressure to one rear clutch at a time |
| Control OFF | Switches the pump relay, ACD and AYC off for a comparison drive |
- Calibrates sensors, on the Evo X only. The steering angle and G sensors are reset with the tool after sensor replacement or a front wheel alignment. The earlier manuals have no such step.
Can I read fault codes without it?
Evo VI, VII and IX: yes. The control unit can flash its codes on a dash lamp. You earth terminal 1 of the 16-pin diagnostic connector, turn the ignition on and count the flashes: tens first, then units. On the Evo VI the codes come out on the AYC warning lamp; on the Evo VII and IX, on the ACD mode indicator. The numbers are the same ones the scan tool would show.
The step-by-step, and what each code means, is in Evo VII–IX codes 45, 46, 81 and 82.
Evo X: no. The manual gives no flash-code method. The car shows a warning on the display, but to see which code is behind it you need a scan tool. What the warning itself tells you is in Service Required 4WD, and the two most common codes are in C161E and C161C.
Can I clear codes without it?
On the Evo VI, VII and IX, yes: the manuals give a method. Ignition off, disconnect the battery negative cable for 10 seconds or more, reconnect it. The codes are kept alive by battery power, so they survive a normal ignition-off but not a disconnected battery. Afterwards the manual has you warm the engine up and let it idle for 10–15 minutes.
Two cautions from me. Clearing a code doesn’t fix anything: if the fault is still there, the code comes back. And write the codes down before you clear them, because they’re the only evidence you have.
The Evo X manual has no battery method; codes are erased with the scan tool.
What can I check with no scan tool at all?
Fluid level. The tool’s only job here is to release the pressure stored in the accumulator. Time does the same thing: the manuals say to leave the car for 90 minutes or more (5 minutes on the Evo VI) at 10–30 °C, then check that the level sits between MIN and MAX. Checked too soon, it reads low. More in ACD/AYC fluid: type and change.
Valves and sensors, with a multimeter. The manuals give resistance figures you can measure with the connector unplugged:
| CAR | PROPORTIONING VALVE | AYC DIRECTION VALVES |
|---|---|---|
| Evo VI | 3.4–4.0 Ω | 15.4–16.4 Ω |
| Evo VII | 4.7 Ω or less | 19–21 Ω |
| Evo IX (US, ACD only) | Less than 4.7 Ω | — |
| Evo X | 3.7 ± 0.3 Ω | 15.9 ± 0.5 Ω |
On the Evo VII–X the pressure sensor should have about 5 V supply with the ignition on. On the Evo VII and IX, a signal below 0.2 V sets code 45 and one above 2.0 V sets code 46.
What really needs the tool?
- Reading codes on an Evo X.
- Live pressure readings. For reference, the manuals give 1.0–1.6 MPa in the data list while the pump runs.
- The factory bleeding routine. Every manual, from the Evo VI to the Evo X, bleeds the system with the tool’s air-bleeding test. I bleed these systems without it, by a method I’ve written up in how to bleed the ACD/AYC system without MUT-III.
- The factory pressure-gauge check, which uses the tool to drive the unit while a gauge is connected.
- Sensor calibration on the Evo X.
Do I need one?
For an Evo VI–IX, usually not: the flash codes and a multimeter take you a long way, and they’re enough to tell a wiring or sensor fault from a pump that isn’t building pressure. For an Evo X, you need at least a way to read the codes. Either way, read the codes before buying parts. If they point at the pump, that’s the part I can help with.
Parts for this job
Pick your car — each link goes straight to the part:
Got codes and not sure what they mean? Send them to me.

