How to Replace the ACD/AYC Pump on the Evo VII–IX and Evo X
By STANISLAV, FOUNDER, ACD/AYC PUMPS · UPDATED OCT 30, 2026
Removal and refit from the factory manual: the order, torque figures, keeping the lines clean, and the bleed that decides whether it works.
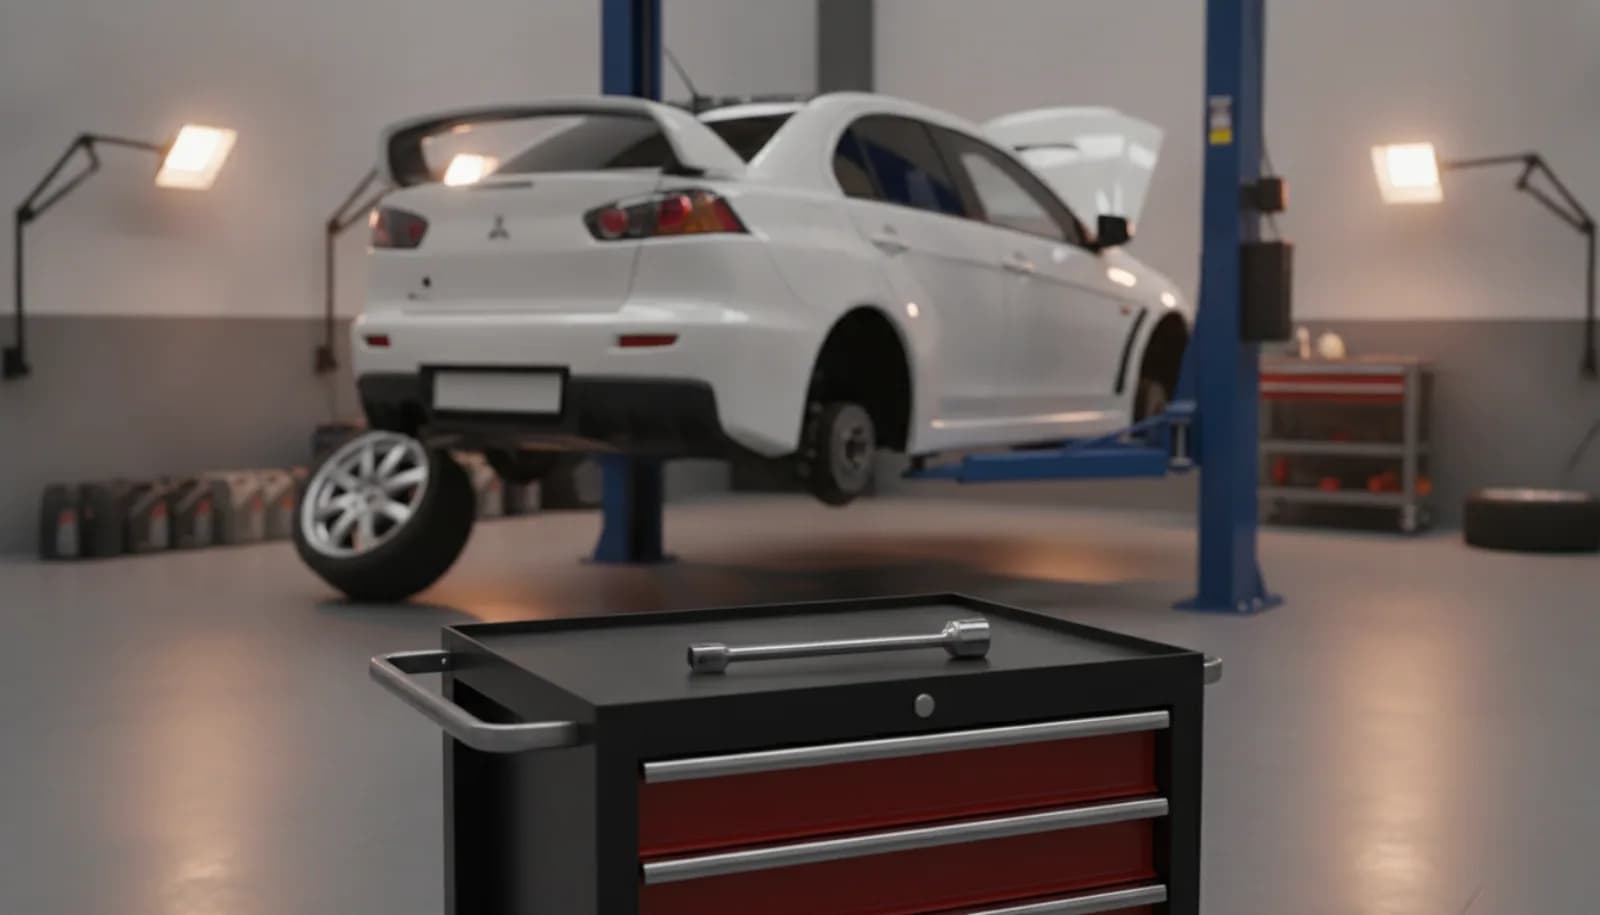
Swapping an ACD/AYC pump is a job a competent home mechanic can do, but it isn’t a bolt-on-and-drive job. The pump lives in an awkward place, the hydraulic lines must go back without a speck of dirt, and the system has to be bled properly afterwards — that last step is where most DIY replacements go wrong. Here’s the job as Mitsubishi’s workshop manuals describe it, with the torque figures, plus the things I’d tell anyone fitting one of our restored units.
Mitsubishi treats the pump as one sealed unit — the hydraulic unit (pump, accumulator, sensor and valves) — and replaces it as an assembly. On the Evo VII–IX it comes out from the rear left via the boot; on the Evo X from the rear right, with the wheel and arch liner off. Lines torque to 26 N·m (oiled threads). Afterwards the system must be bled, ACD and AYC sides both.
Before you start: is it really the pump?
A replacement pump won’t fix a dead relay, a broken sensor wire or low fluid, and those cause the same warning lights. Read the codes and rule out the cheap causes first — failure symptoms, codes 45/46/81/82 on the Evo VII–IX, C161E/C161C on the Evo X. If the pump runs but the code for “no pressure” keeps coming back, then it’s the hydraulic unit.
What you’ll need
- Flare-nut (line) spanners for the hydraulic pipes and a torque wrench.
- Caps or clean plugs for every open line and port — no rags.
- Fresh ATF SP III (about 1 L) for the refill — see which fluid and how much.
- A clear hose and bottle for bleeding, and a way to get the car safely in the air.
- A dealer tool (MUT-III) helps with bleeding, but you can bleed it without one.
Where the pump is
Evo VII, VIII and IX: rear left, by the left rear wheel, reached from the boot. Evo X and Lancer Ralliart: rear right, between the boot and the right rear wheel arch. US-market ACD-only Evo VIII MR and IX: a compact pump at the front, behind the bumper. More detail in where the ACD/AYC pump is on each Evo.
How to remove the pump on an Evo VII, VIII or IX
This is Mitsubishi’s sequence for cars with ACD and AYC. Let the car stand for 90 minutes first (or run the dealer tool’s oil-level mode) so the accumulator pressure drops before you open anything.
Removal
- Remove the side trim in the boot and drain the fluid from the circuit.
- Remove the dust guard.
- Disconnect the reservoir hose from the hydraulic unit.
- Disconnect the hydraulic hose assembly (to the AYC differential) from the unit.
- Disconnect the pipe to the transfer case (ACD) from the unit, and unplug the electrical connectors.
- Undo the bracket mounting bolt and lift the hydraulic unit out — it hangs on a hook on the rear floor side member.
- Only if you’re replacing the hoses or bracket too: the bracket needs the anti-roll bar disconnected from the differential support arm and the support arm removed; the AYC hose comes out with the support arm lowered.
Torque figures (Evo VII–IX): flare nuts 34 ± 5 N·m on dry threads, or 26 ± 4 N·m on oiled threads; bracket and unit bolts 18 ± 2 N·m; small bracket bolts 12 ± 2 N·m.
How to remove the pump on an Evo X
Removal
- Remove the right rear wheel, the right rear wheel-arch liner and the right side trim in the boot.
- Undo the AYC pressure tube from the hydraulic unit and from the AYC differential.
- Undo the ACD tube from the unit.
- Disconnect the reservoir hose and the unit’s electrical connector.
- Undo the bolts joining the two brackets to the unit and lift the unit out with its bracket, then separate them.
Torque figures (Evo X): flare nuts at the unit 26 ± 4 N·m with oiled threads; AYC tube at the differential 21 ± 3 N·m; bracket bolts 18 ± 7 N·m; reservoir 4 ± 2 N·m.
Mitsubishi’s first caution on this job: no dirt in the hydraulic lines or joints, and no lubricant on the reservoir, suction or return hoses. A grain of grit in a valve is enough to bring the warning light straight back. Cap every line the moment it comes off.
How to fit the new pump
- Fit it in the reverse order. On the VII–IX, hook the unit onto the rear floor side member first, then tighten the bolt; on the X, engage the bracket hook in the body bracket.
- Push the reservoir hose fully onto its positioning spool on the unit (on the X, about 3 mm onto the reservoir side).
- Start every flare nut by hand before using a spanner, then torque to the figures above.
- Plug in all the connectors — pump, pressure sensor and valves.
- Fill the reservoir with ATF SP III.
After fitting: bleed, check, clear codes
This is the part that decides whether the job works. Mitsubishi bleeds both the ACD and the AYC side after the hydraulic unit has been out, keeping the reservoir topped up the whole time so it never draws air. The ACD bleeder is on the transfer case (5 N·m), the AYC bleeders are on the rear differential (9 N·m). Do it at normal temperature — below about 10 °C the fluid is too thick to bleed properly.
The manual is blunt about why: incomplete bleeding makes the hydraulic unit noisy and shortens the pump’s life. Our step-by-step method without the dealer tool is in how to bleed the ACD/AYC system without MUT-III.
Then:
- Clear the fault codes and switch the ignition on: the pump should run for a few seconds, then stop, with no warning lights.
- Re-check the fluid level once the system has settled.
- Drive gently at first and check the lights stay off.
Mitsubishi doesn’t list any ECU calibration after replacing the hydraulic unit — once it’s bled and the codes are cleared, the system takes over.
Can you open the old pump and fix it yourself?
Not with the factory manual — it has no rebuild procedure at all, only “replace the hydraulic unit”. It also warns why: the accumulator holds high-pressure gas, so the unit must never be heated or crushed, and before scrapping one the gas has to be released safely. Rebuilding these pumps is what we do every day, on proper equipment, and every unit is bench-calibrated and load-tested before it ships. If you’d rather fit a restored pump, your old one can go towards it through the trade-in programme — please don’t throw it away.
Parts for this job
Pick your car — each link goes straight to the part:
Not sure which unit your car needs? Send me the VIN. Prefer to keep your own pump? We can rebuild it instead.

